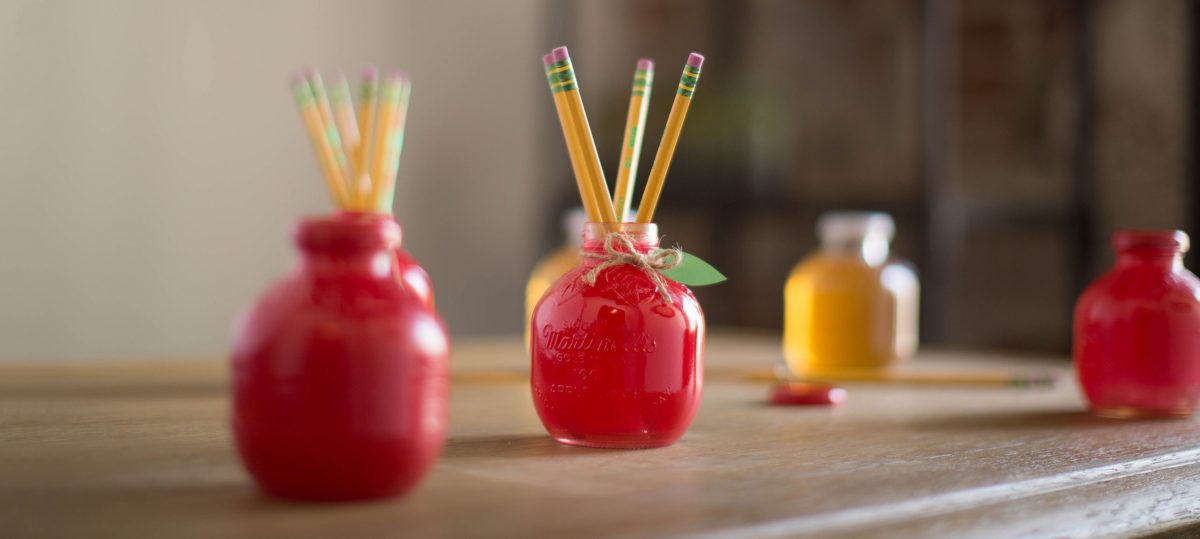
This DIY apple pencil holder is the perfect back-to-school activity to get your kids (or teachers!) excited about sharpening their #2s. No matter how you use it, it’ll be an apple everyone will be excited to show off on their desks.
How to Make an Apple Pencil Holder
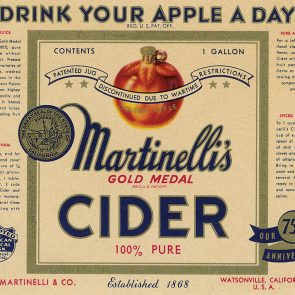
Before you can use your art class skills, you’ll need to pick an apple bottle. Martinelli’s Apple Juice is a smart choice with its unique apple shape and glass or PET plastic bottle option. Both also offer the painters the delicious task of drinking every juicy drop of the 100% apple juice. After all, you can’t get crafty with a parched palate. Be sure to decide early what kind of apple you want to make. Will it be a red apple? Or a green apple? Or maybe even a caramel-colored apple? Don’t be afraid to branch out!

Apple Pencil Holder DIY Instructions
Step 1: Bottle
Place your bottle bottom end up on a protected surface. Make sure the glass is completely dry so the paint sticks.
Step 2: Paint
Spray a few inches back, moving from top to bottom on each of the sides for an even coat.
Tip: Spray at a downward angle to prevent drips.
Step 3: Repeat
Apply another coat(s) until the bottle is properly covered. Allow time in between coats to prevent imperfections.

Step 4: Dry
Find a safe spot to dry for a couple of hours or until fully dry.
Tip: Apply a crystal clear acrylic top coat to prevent scratches.
Step 5: Decorate
Get creative. Add a leaf, pencils, twine…maybe even a friendly worm!

When your apple pencil holder is freshly painted and shining brightly on the desk, consider the first lesson of the year complete. This DIY Martinelli’s project is not only fun and easy, it shows how repurposing and reusing items can be as well. It also looks like you deserve an “A”.